The popularity of wet rooms has increased dramatically over recent years with busy lives leading to the preference for taking quick showers rather than long, relaxing baths; however this doesn’t mean that style has to go out of the window. Wet rooms can create a striking impression with the clever use of glass partitions, niche shelving and a range of tiling designs.
Installing a wet room requires careful planning and preparation to ensure a versatile space is created, utilising the available area to its full potential – something which is essential is small or awkwardly shaped rooms.
The biggest concern when installing a wet room is to ensure the area is fully waterproof as the building materials commonly used in these areas such as plasterboard, plywood, MDF, softwood, blockwork and concrete are all highly susceptible to water and excessive moisture. It is essential to protect both walls and floors prior to tiling as the failure to achieve a totally watertight seal behind these areas will almost certainly lead to water leakage and expensive damage being caused.
The Aquaseal Wet Room System Tanking Kit is designed to make the installation of wet rooms as straight forward and simple as possible, containing everything needed to provide a permanently flexible, watertight membrane prior to tiling and includes a Primer, Tanking Tape, Tanking Membrane and a drain mat.
A permanently waterproof seal can be achieved in four easy steps.
Step 1
Apply the ready to use primer by brush to all porous and semi porous surfaces in the areas to be waterproofed. It is quick drying and can be over coated after just 1 hour.
Step 2
All corner joints, board joints and pipe penetrations must be covered with the self-adhesive; butyl backed Waterproof Tanking Tape to provide a watertight seal that accommodates cross directional movement. First, apply the tape to all corners and roll firm. Second, apply to base joints with at least a 5mm overlap over corner tape. Thirdly, apply the tape to vertical joints, again ensuring an overlap with the horizontal tape. Finally, use the tape to seal all pipe entries.
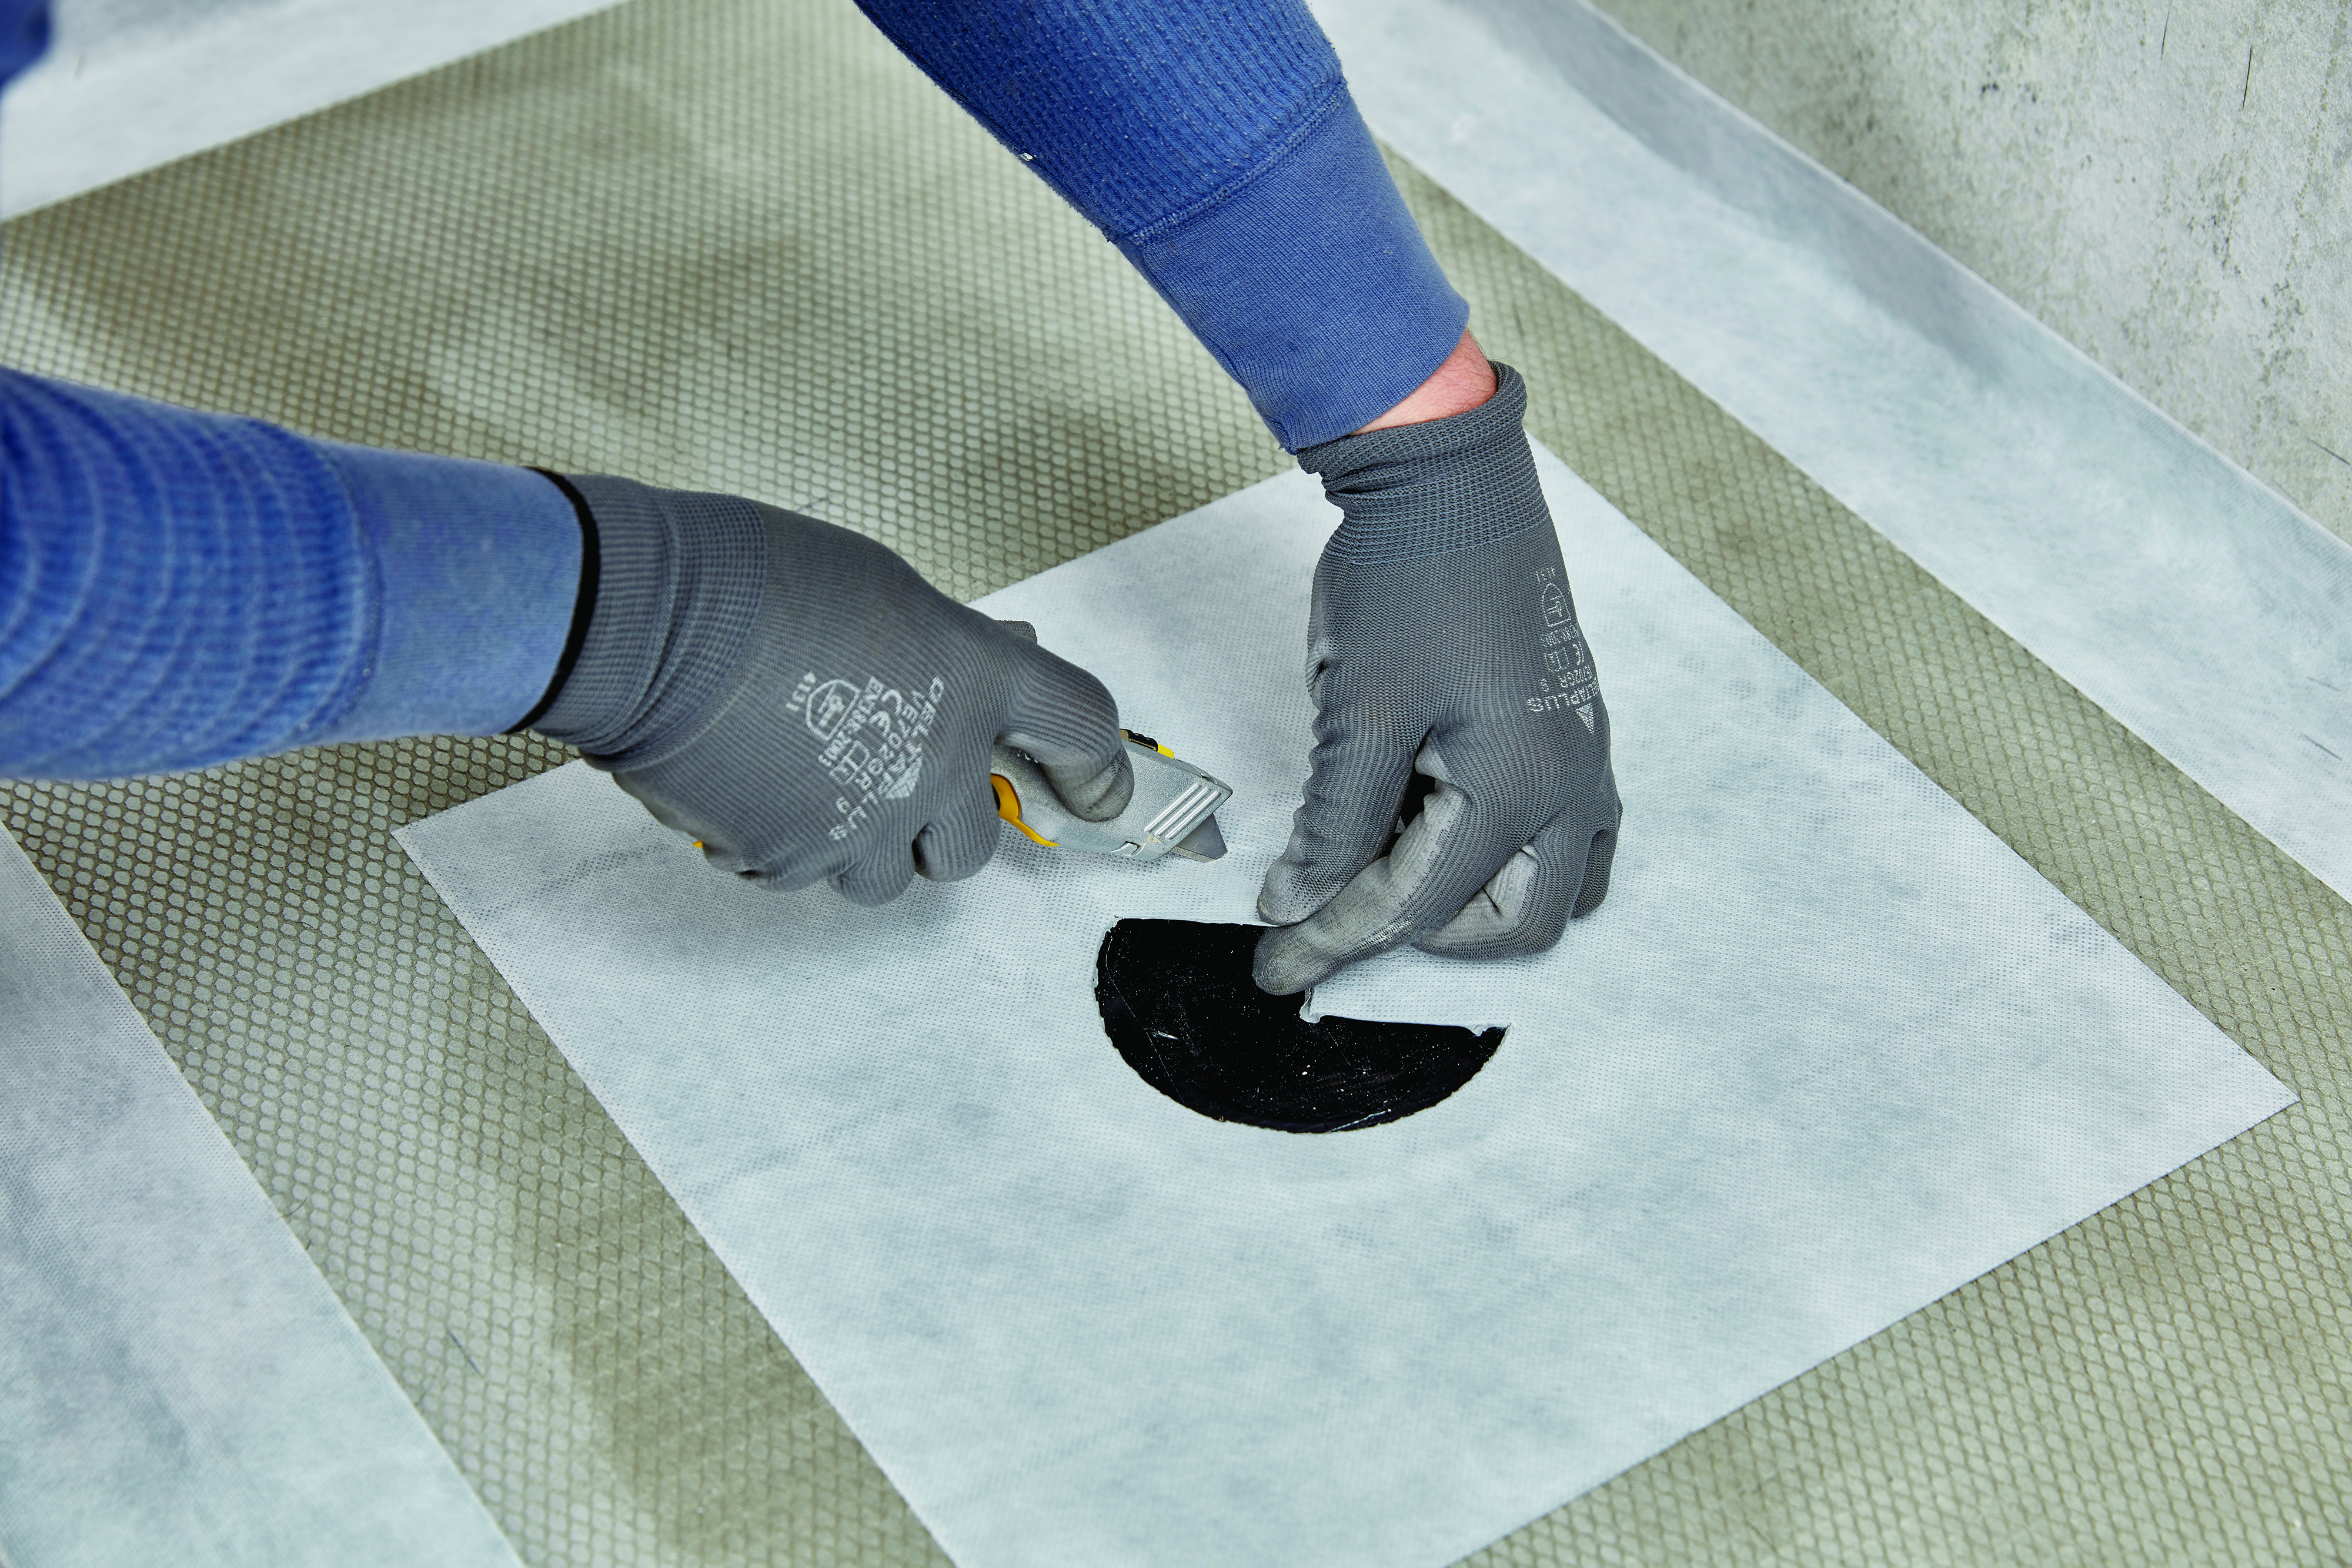
Step 3
Fix the self-adhesive Drain Mat, which is capable of coping with board movement around the drain outlet.
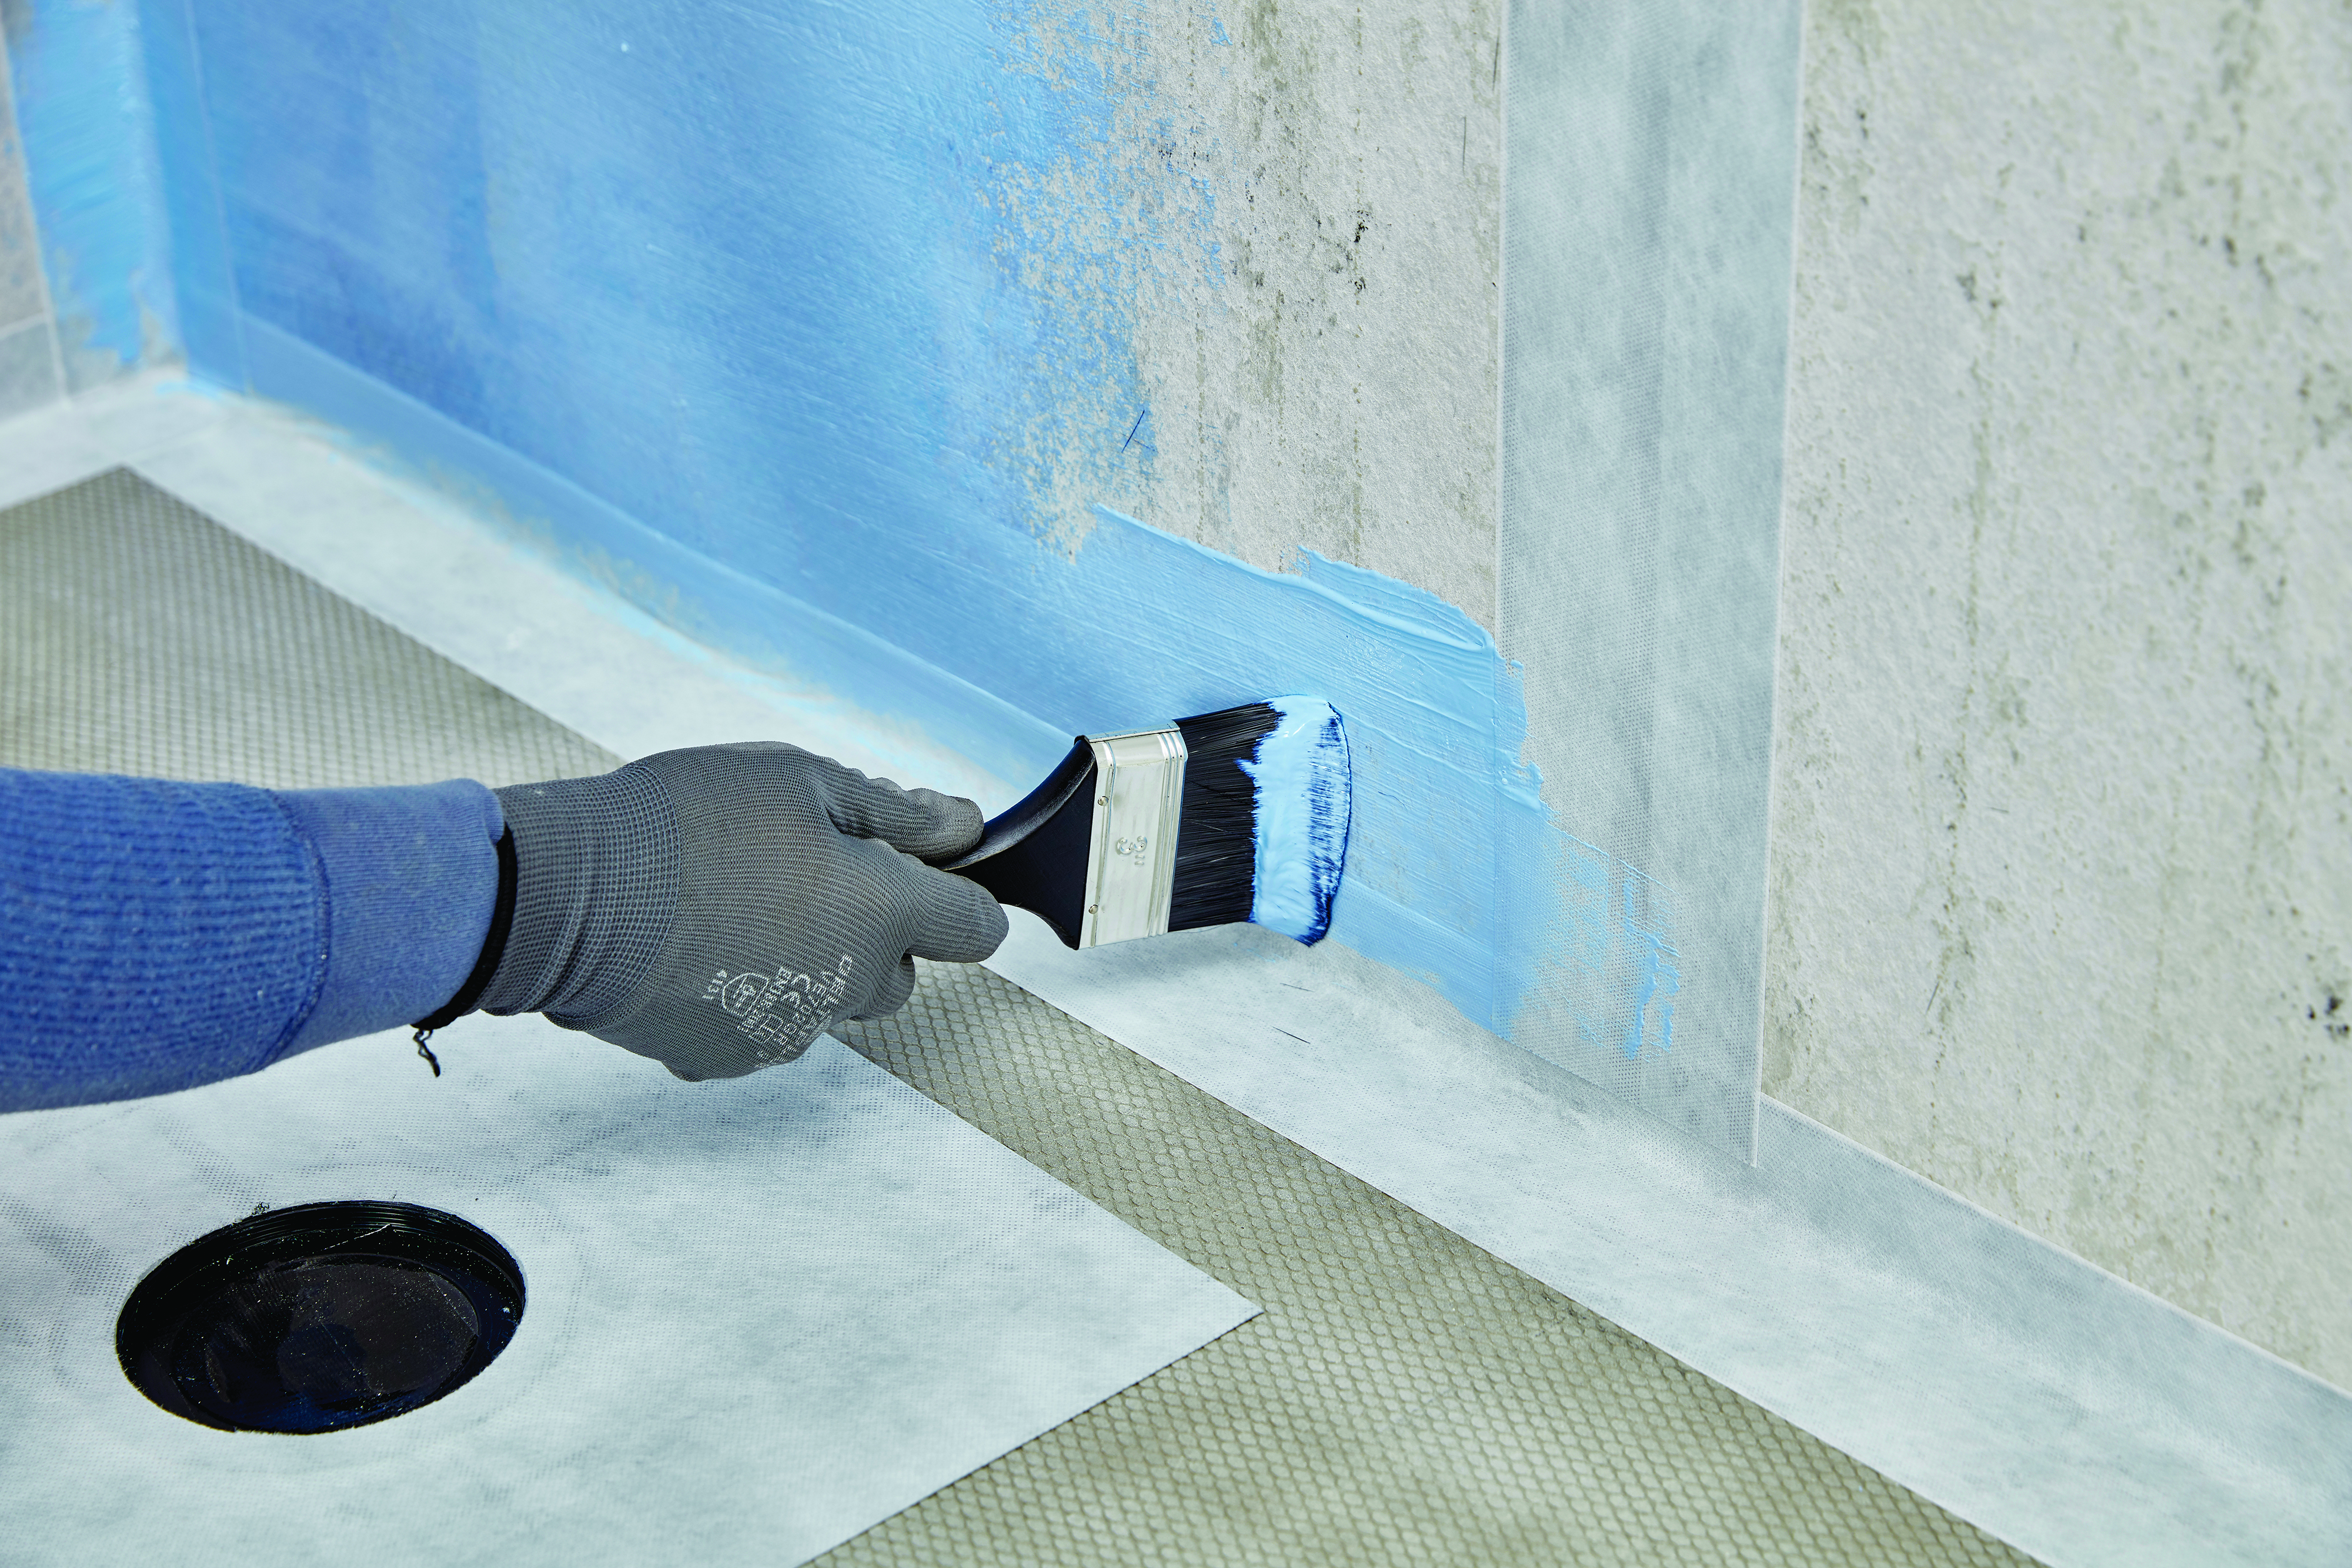
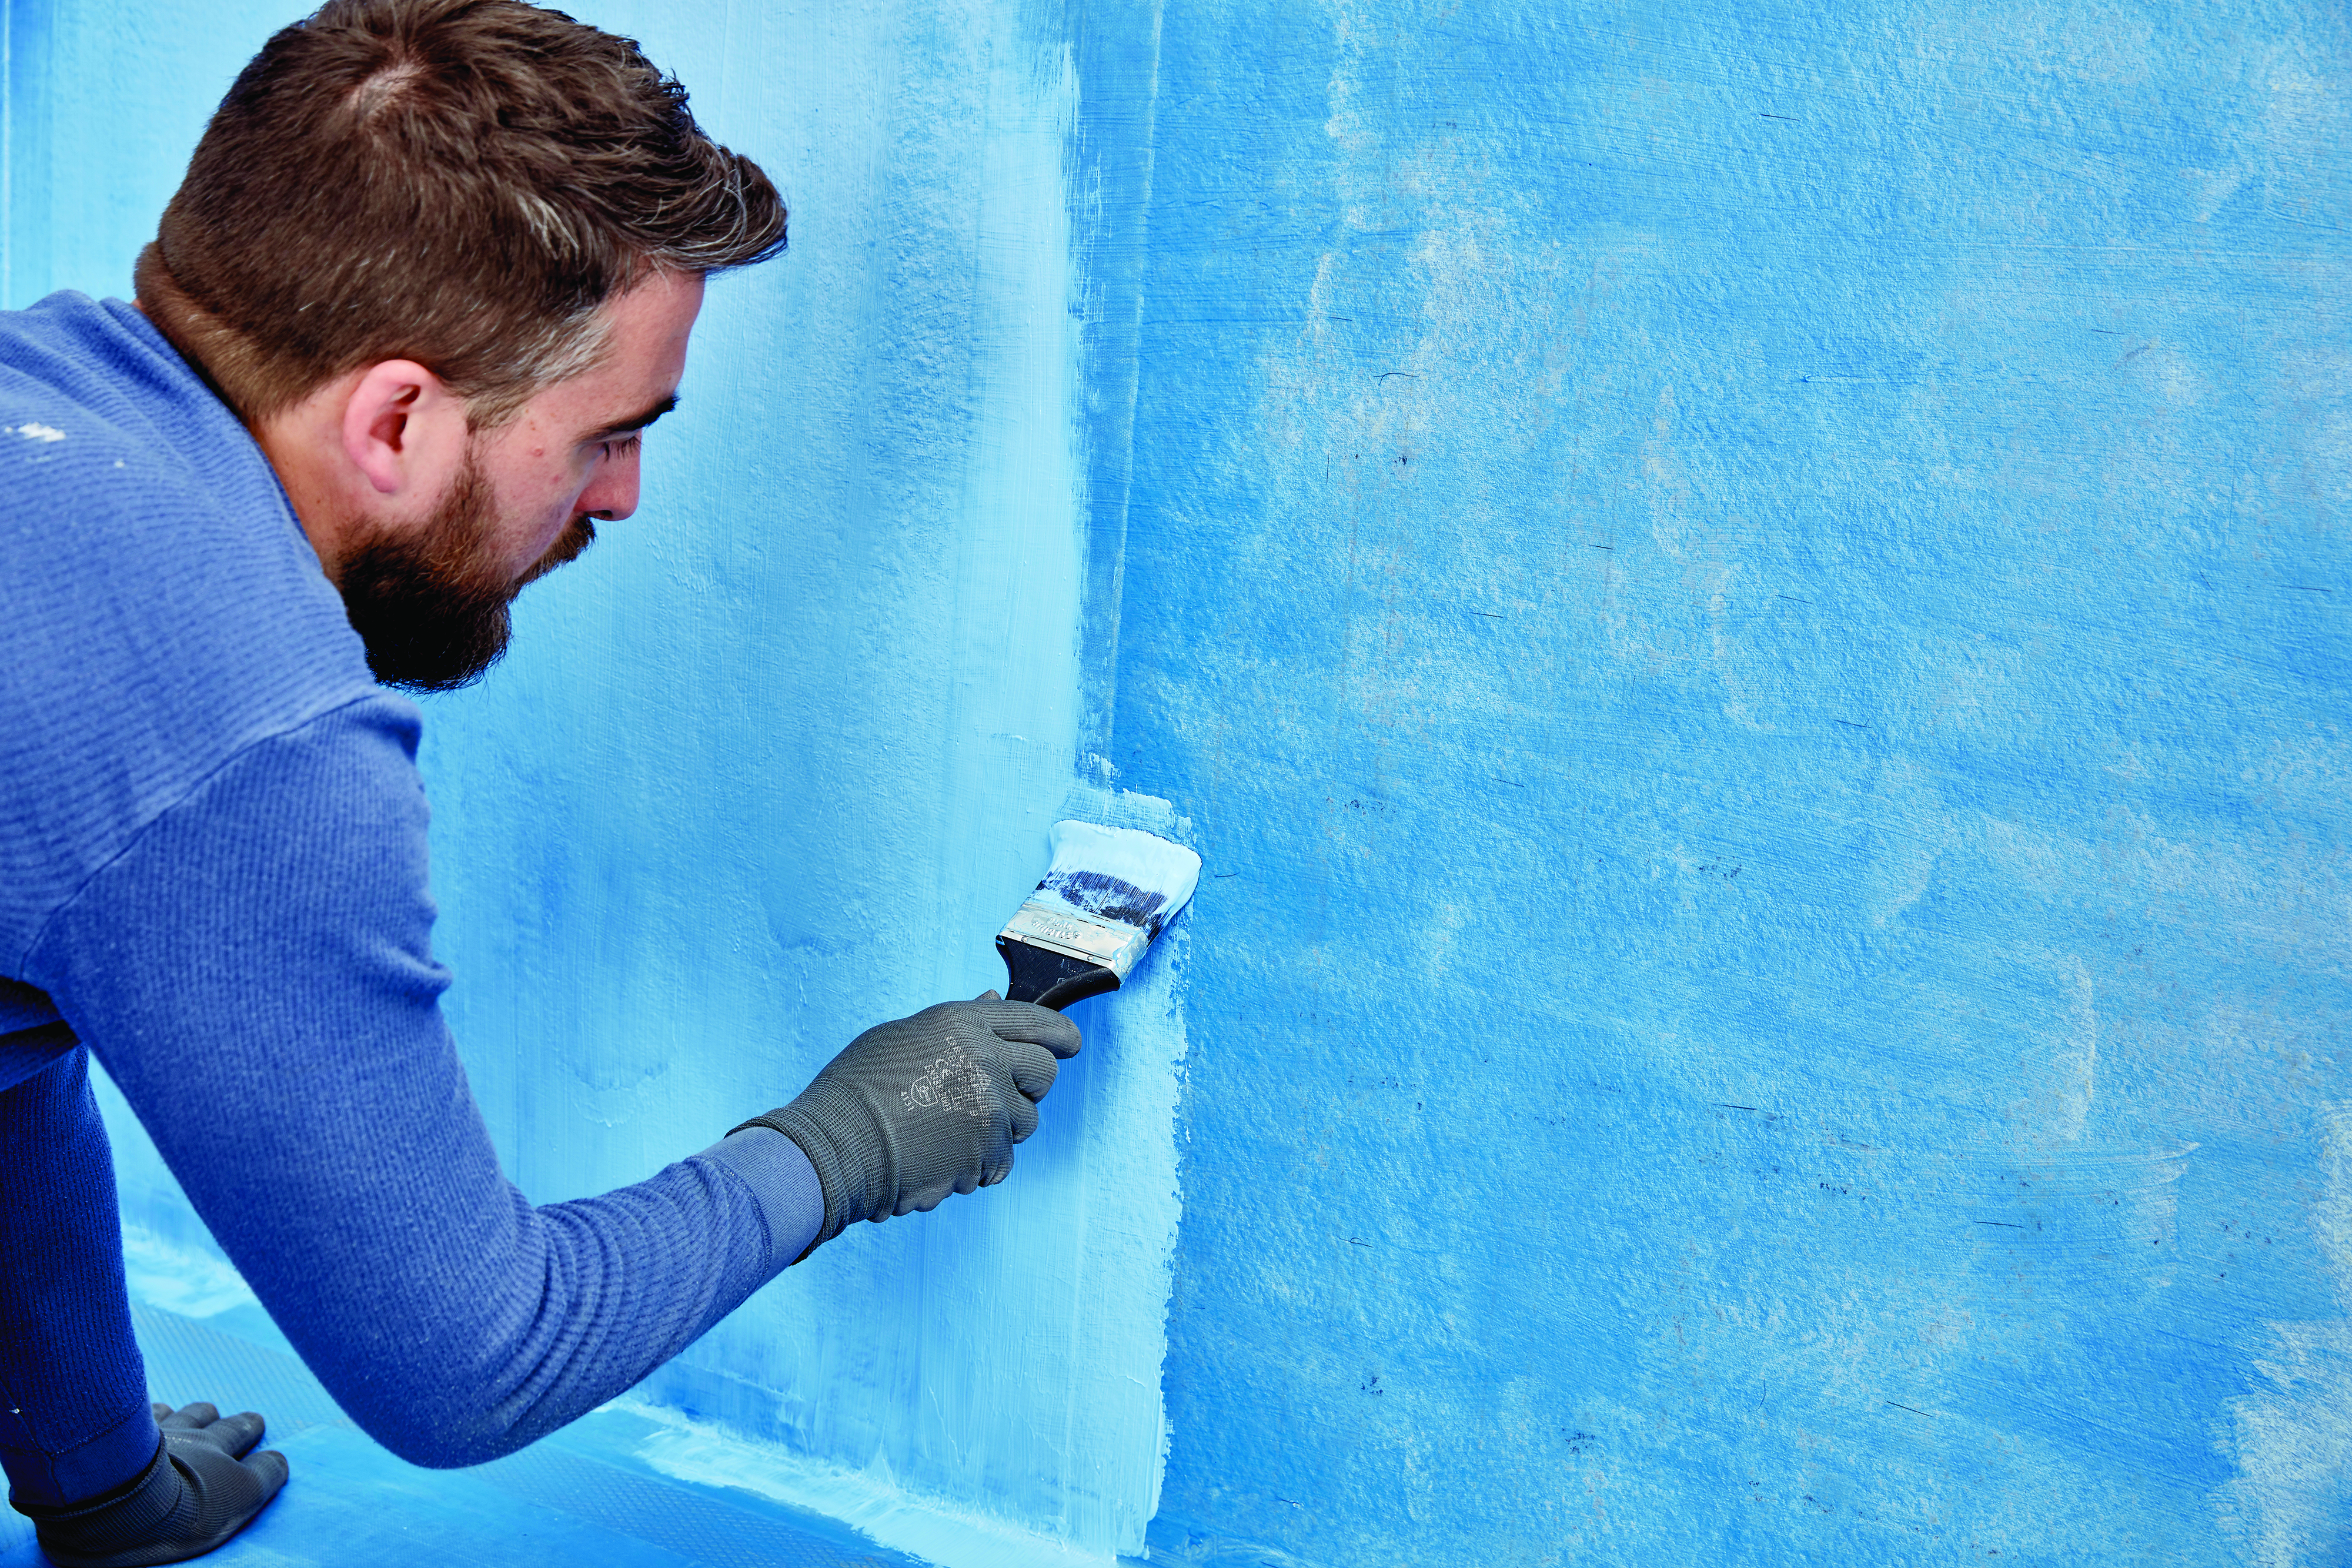
Step 4
Apply the first coat of the ready to use Tanking Membrane by brush (sized 3 inches plus) using horizontal strokes, to provide a permanently flexible waterproof membrane. Ensure the Tanking Membrane is applied generously and covers the Drain Mat and the Tanking Tape. Once the first coat is dry after a minimum of 6 hours apply a second generous coat by brush ensuring the strokes are vertical, to create a permanent waterproof barrier with a thickness of no less than 1mm. After 12 hours drying, tiling of the area can commence. It is recommended that a suitable waterproof tile adhesive and waterproof grout is used and that all tiled corner joints are sealed with a waterproof and mould resistant silicone sealant such as Forever White.